
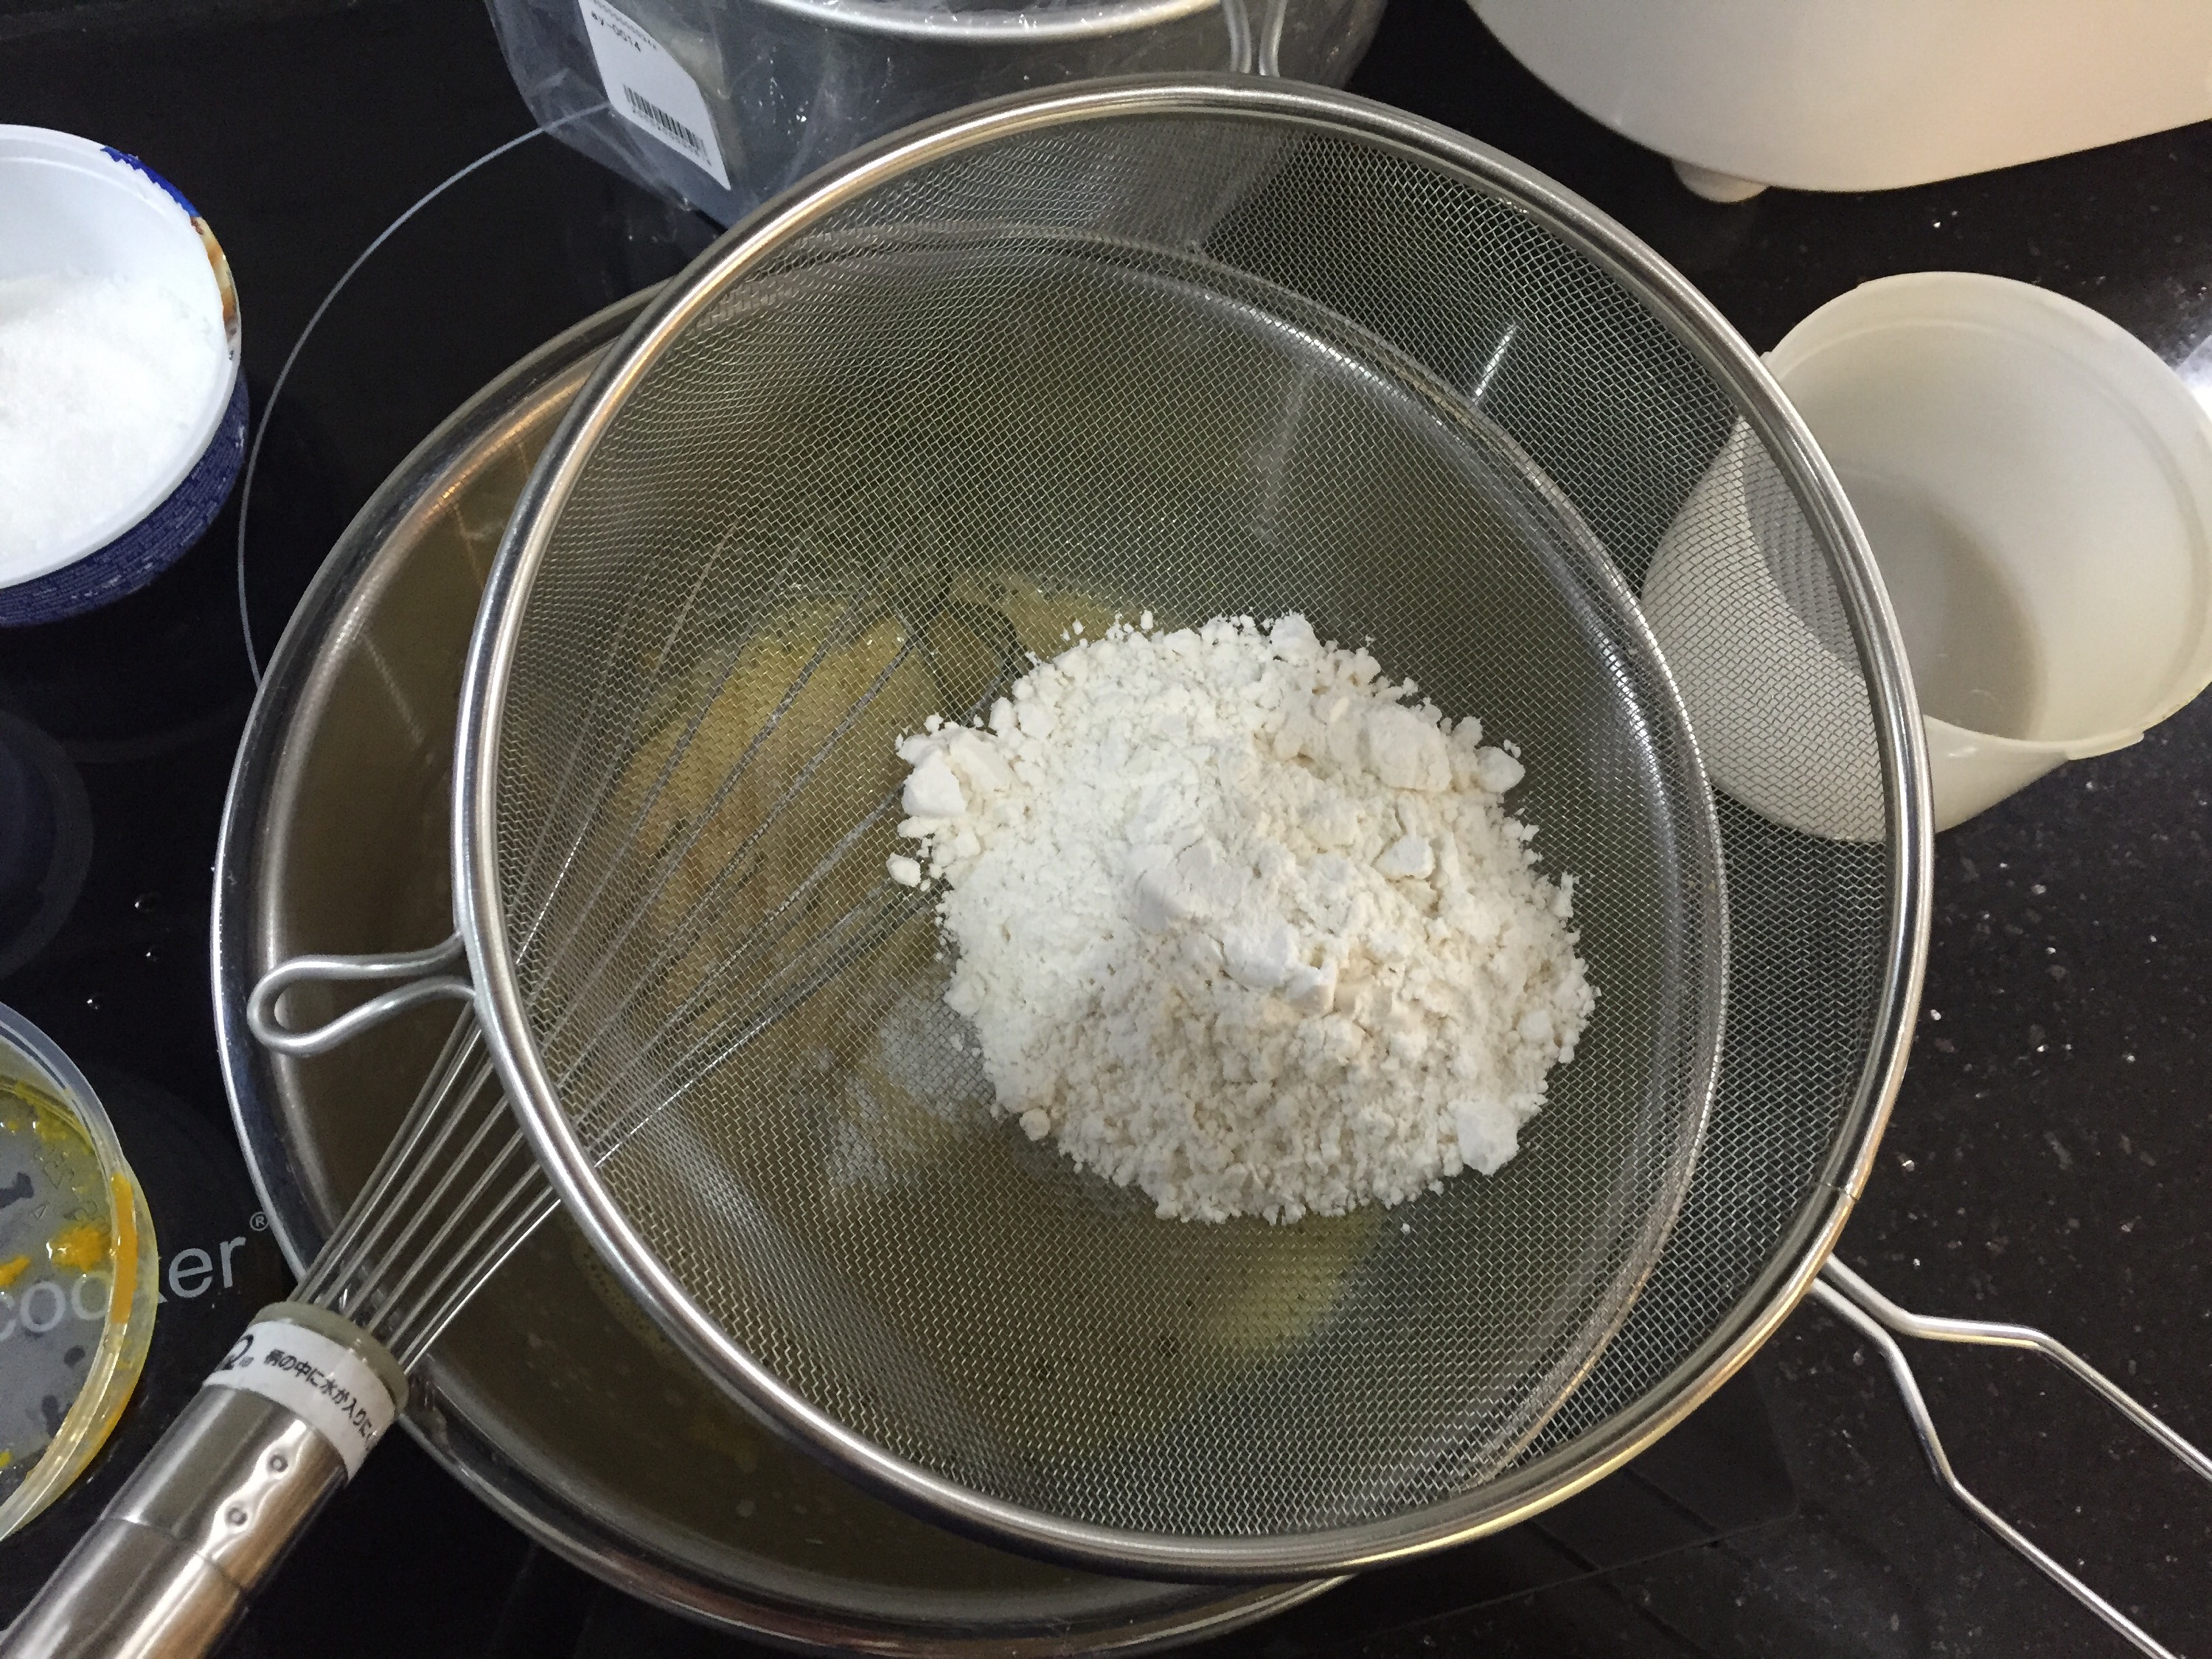
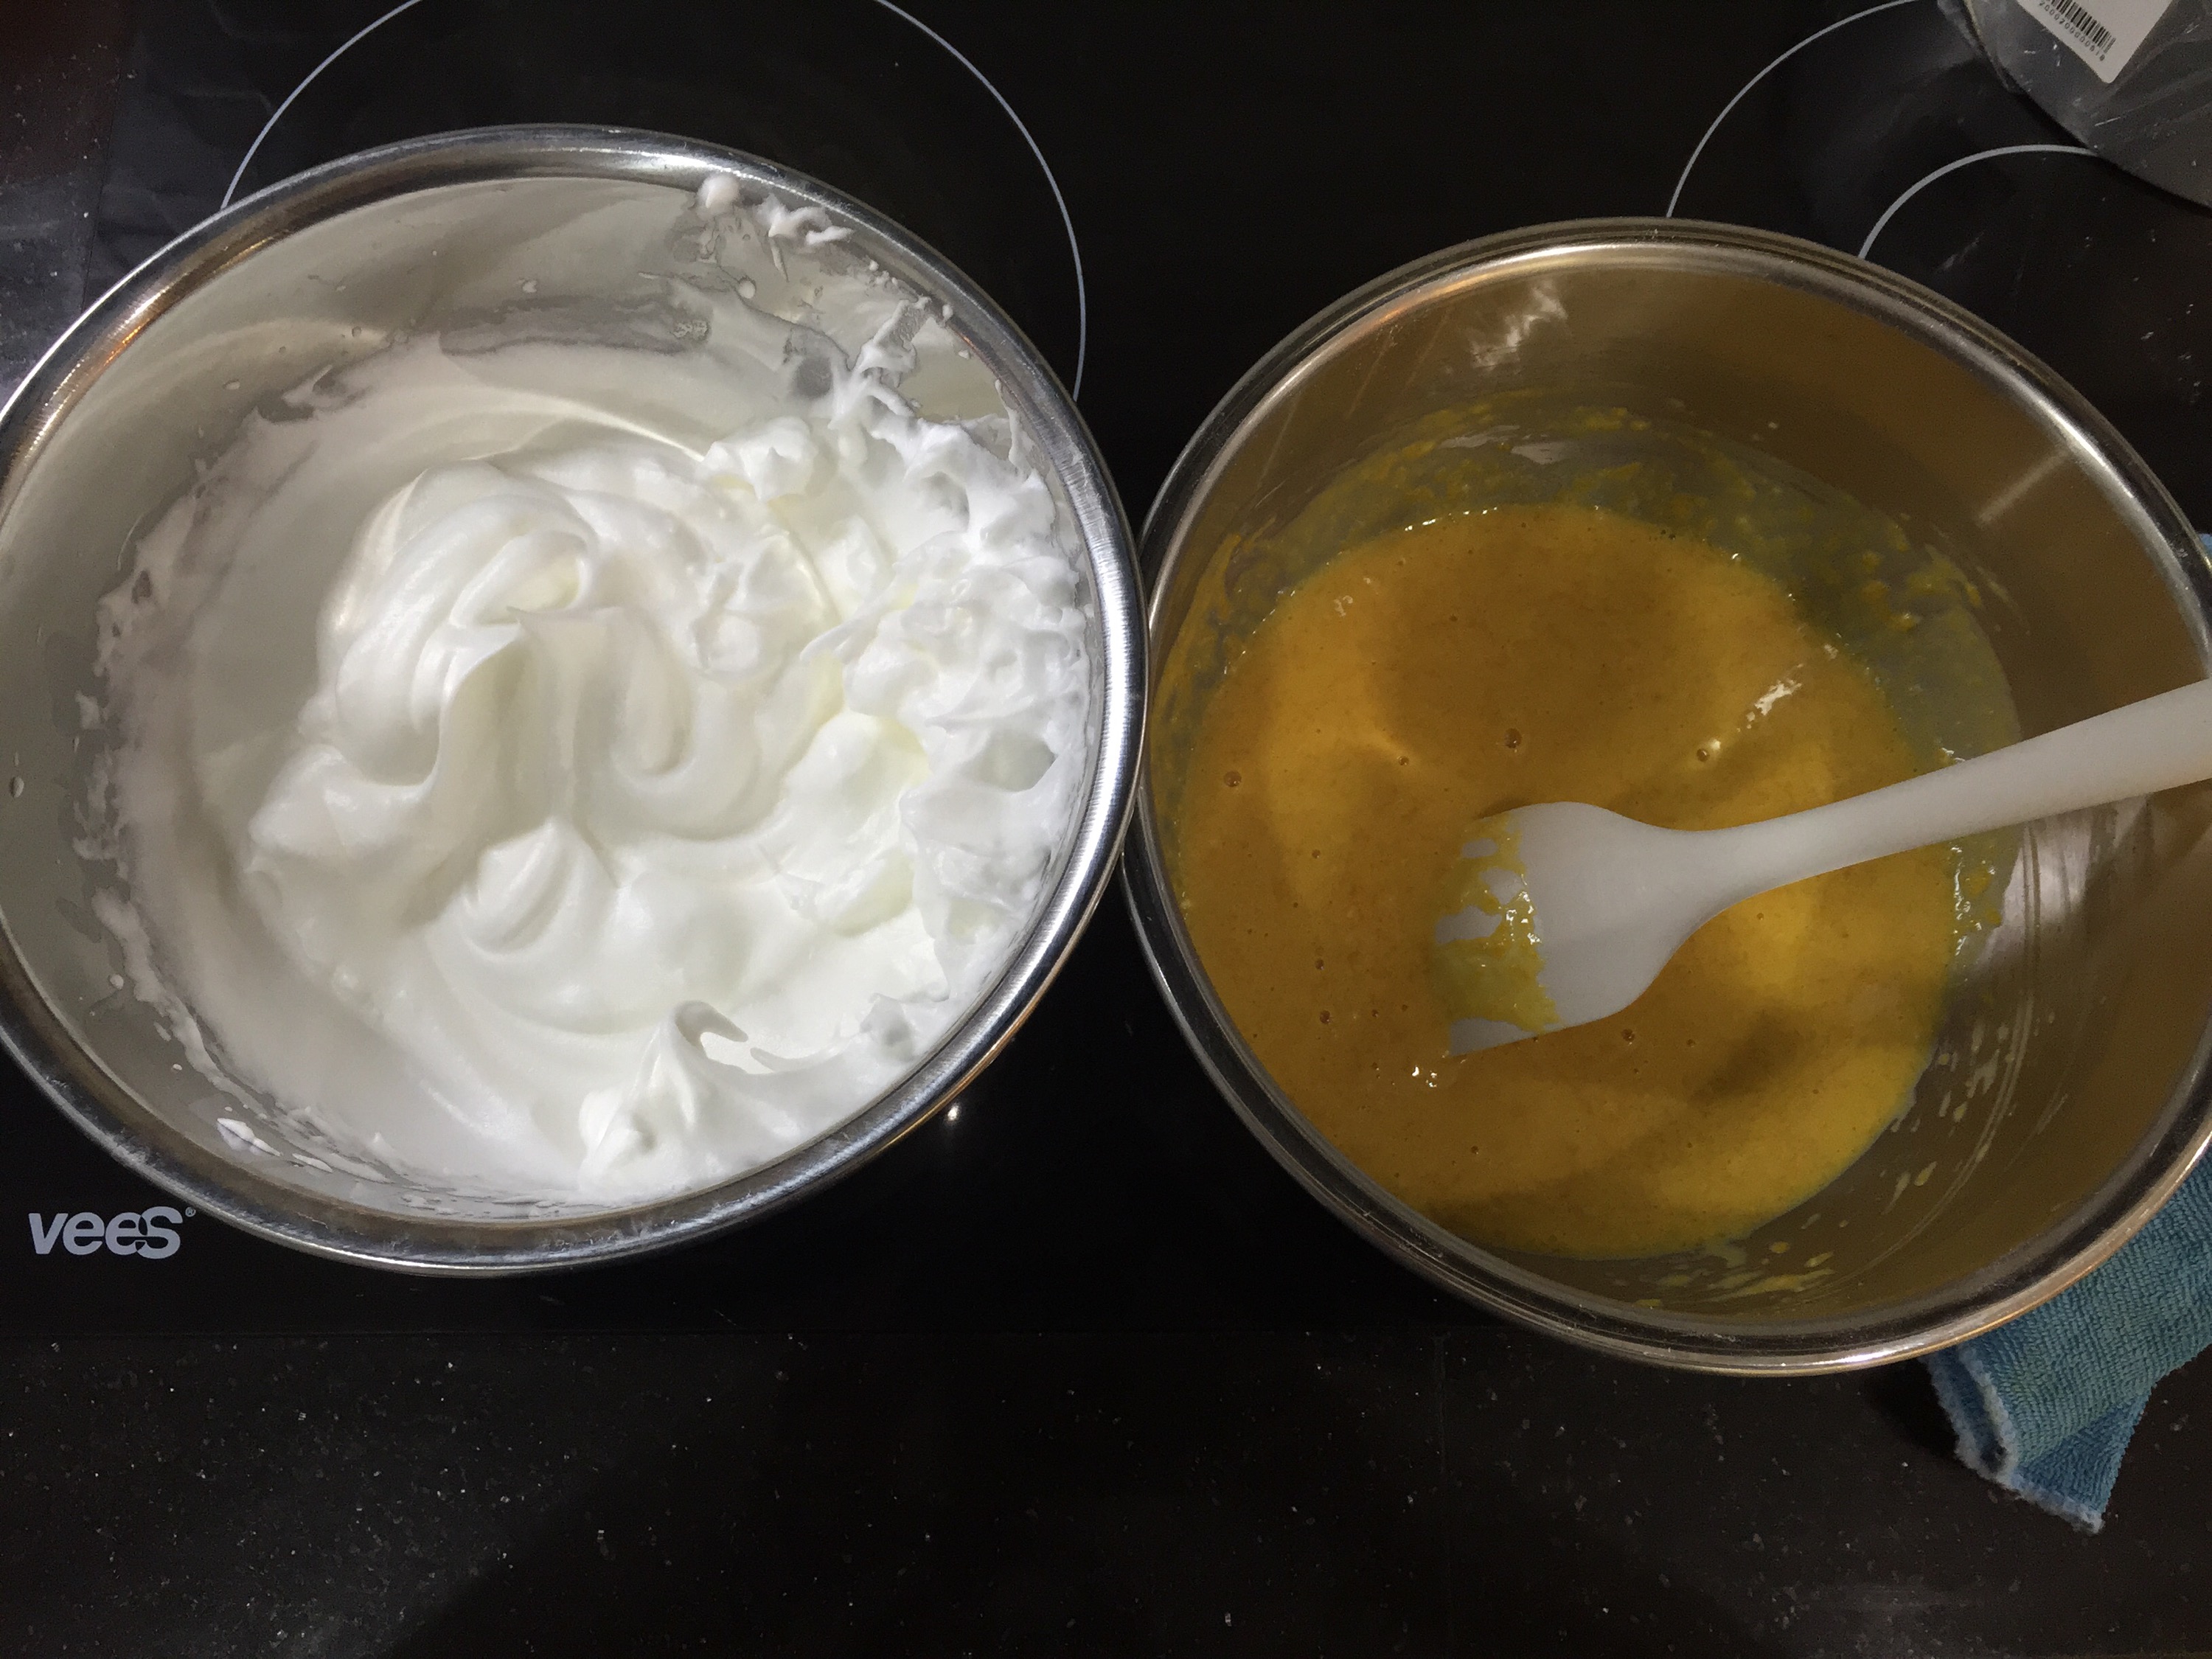
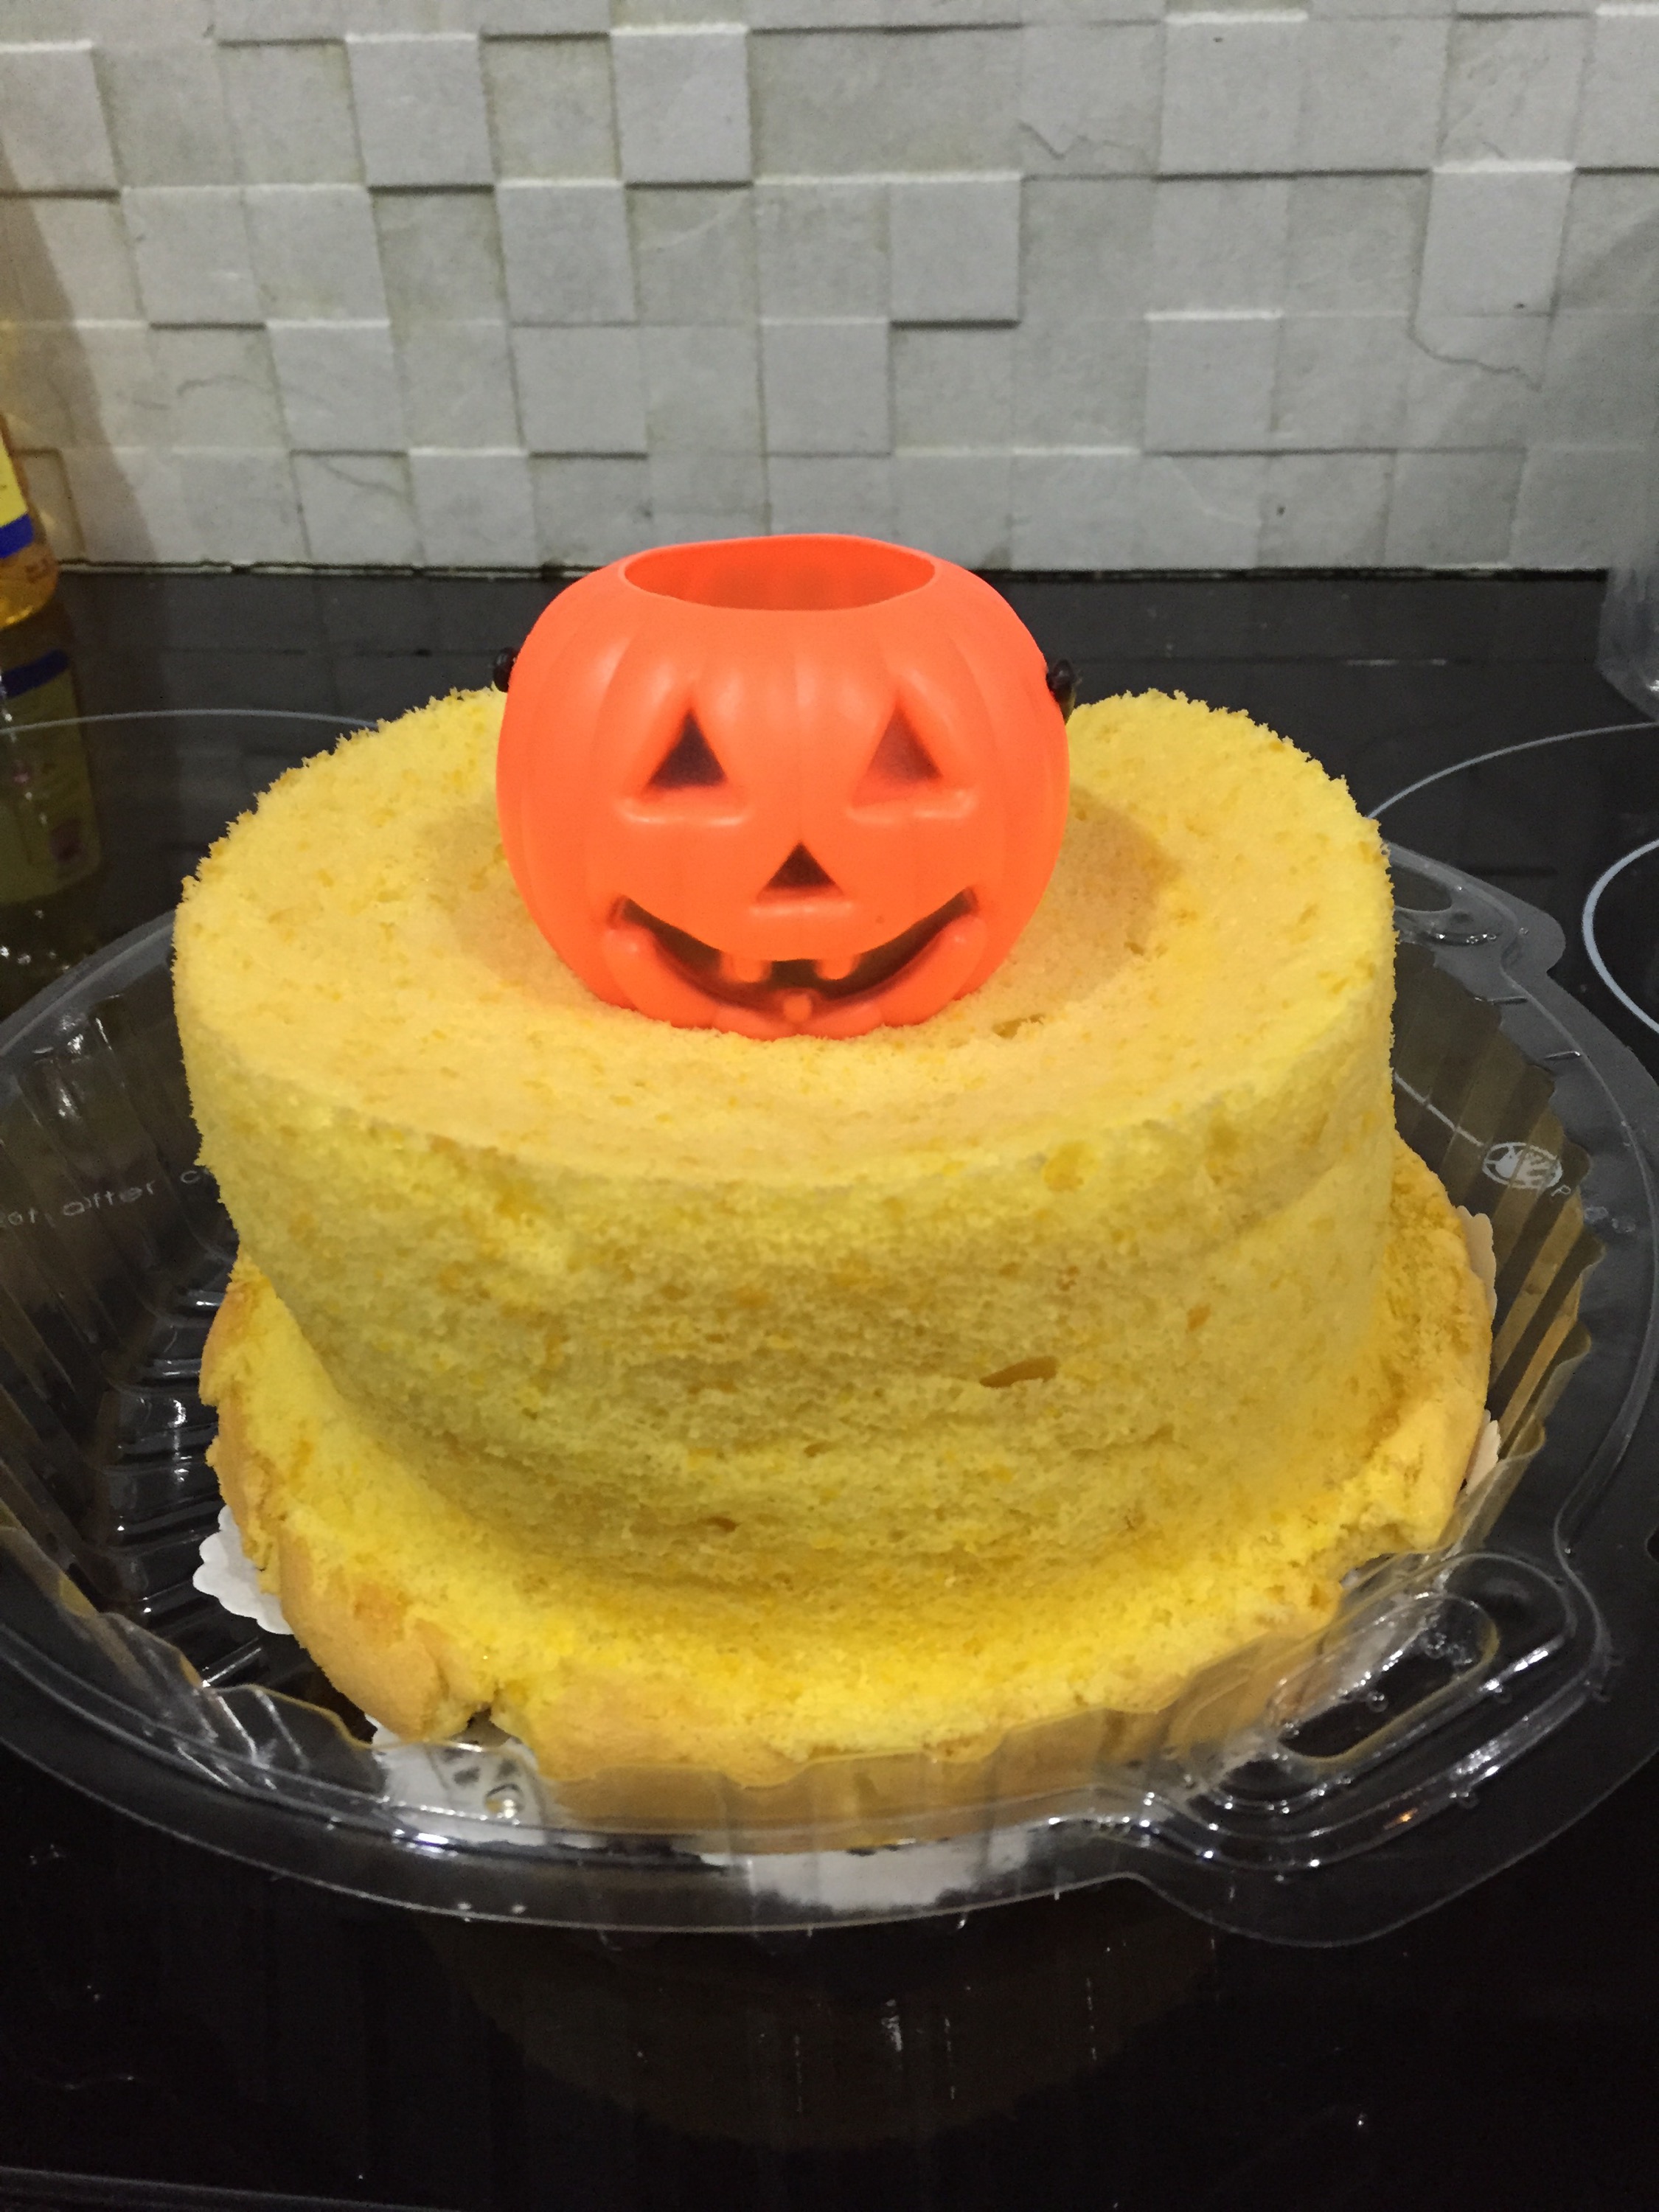
兒子每天都在說,Halloween Halloween! 於是便烤了這個南瓜戚風應景囉。🎃🎃🎃🎃 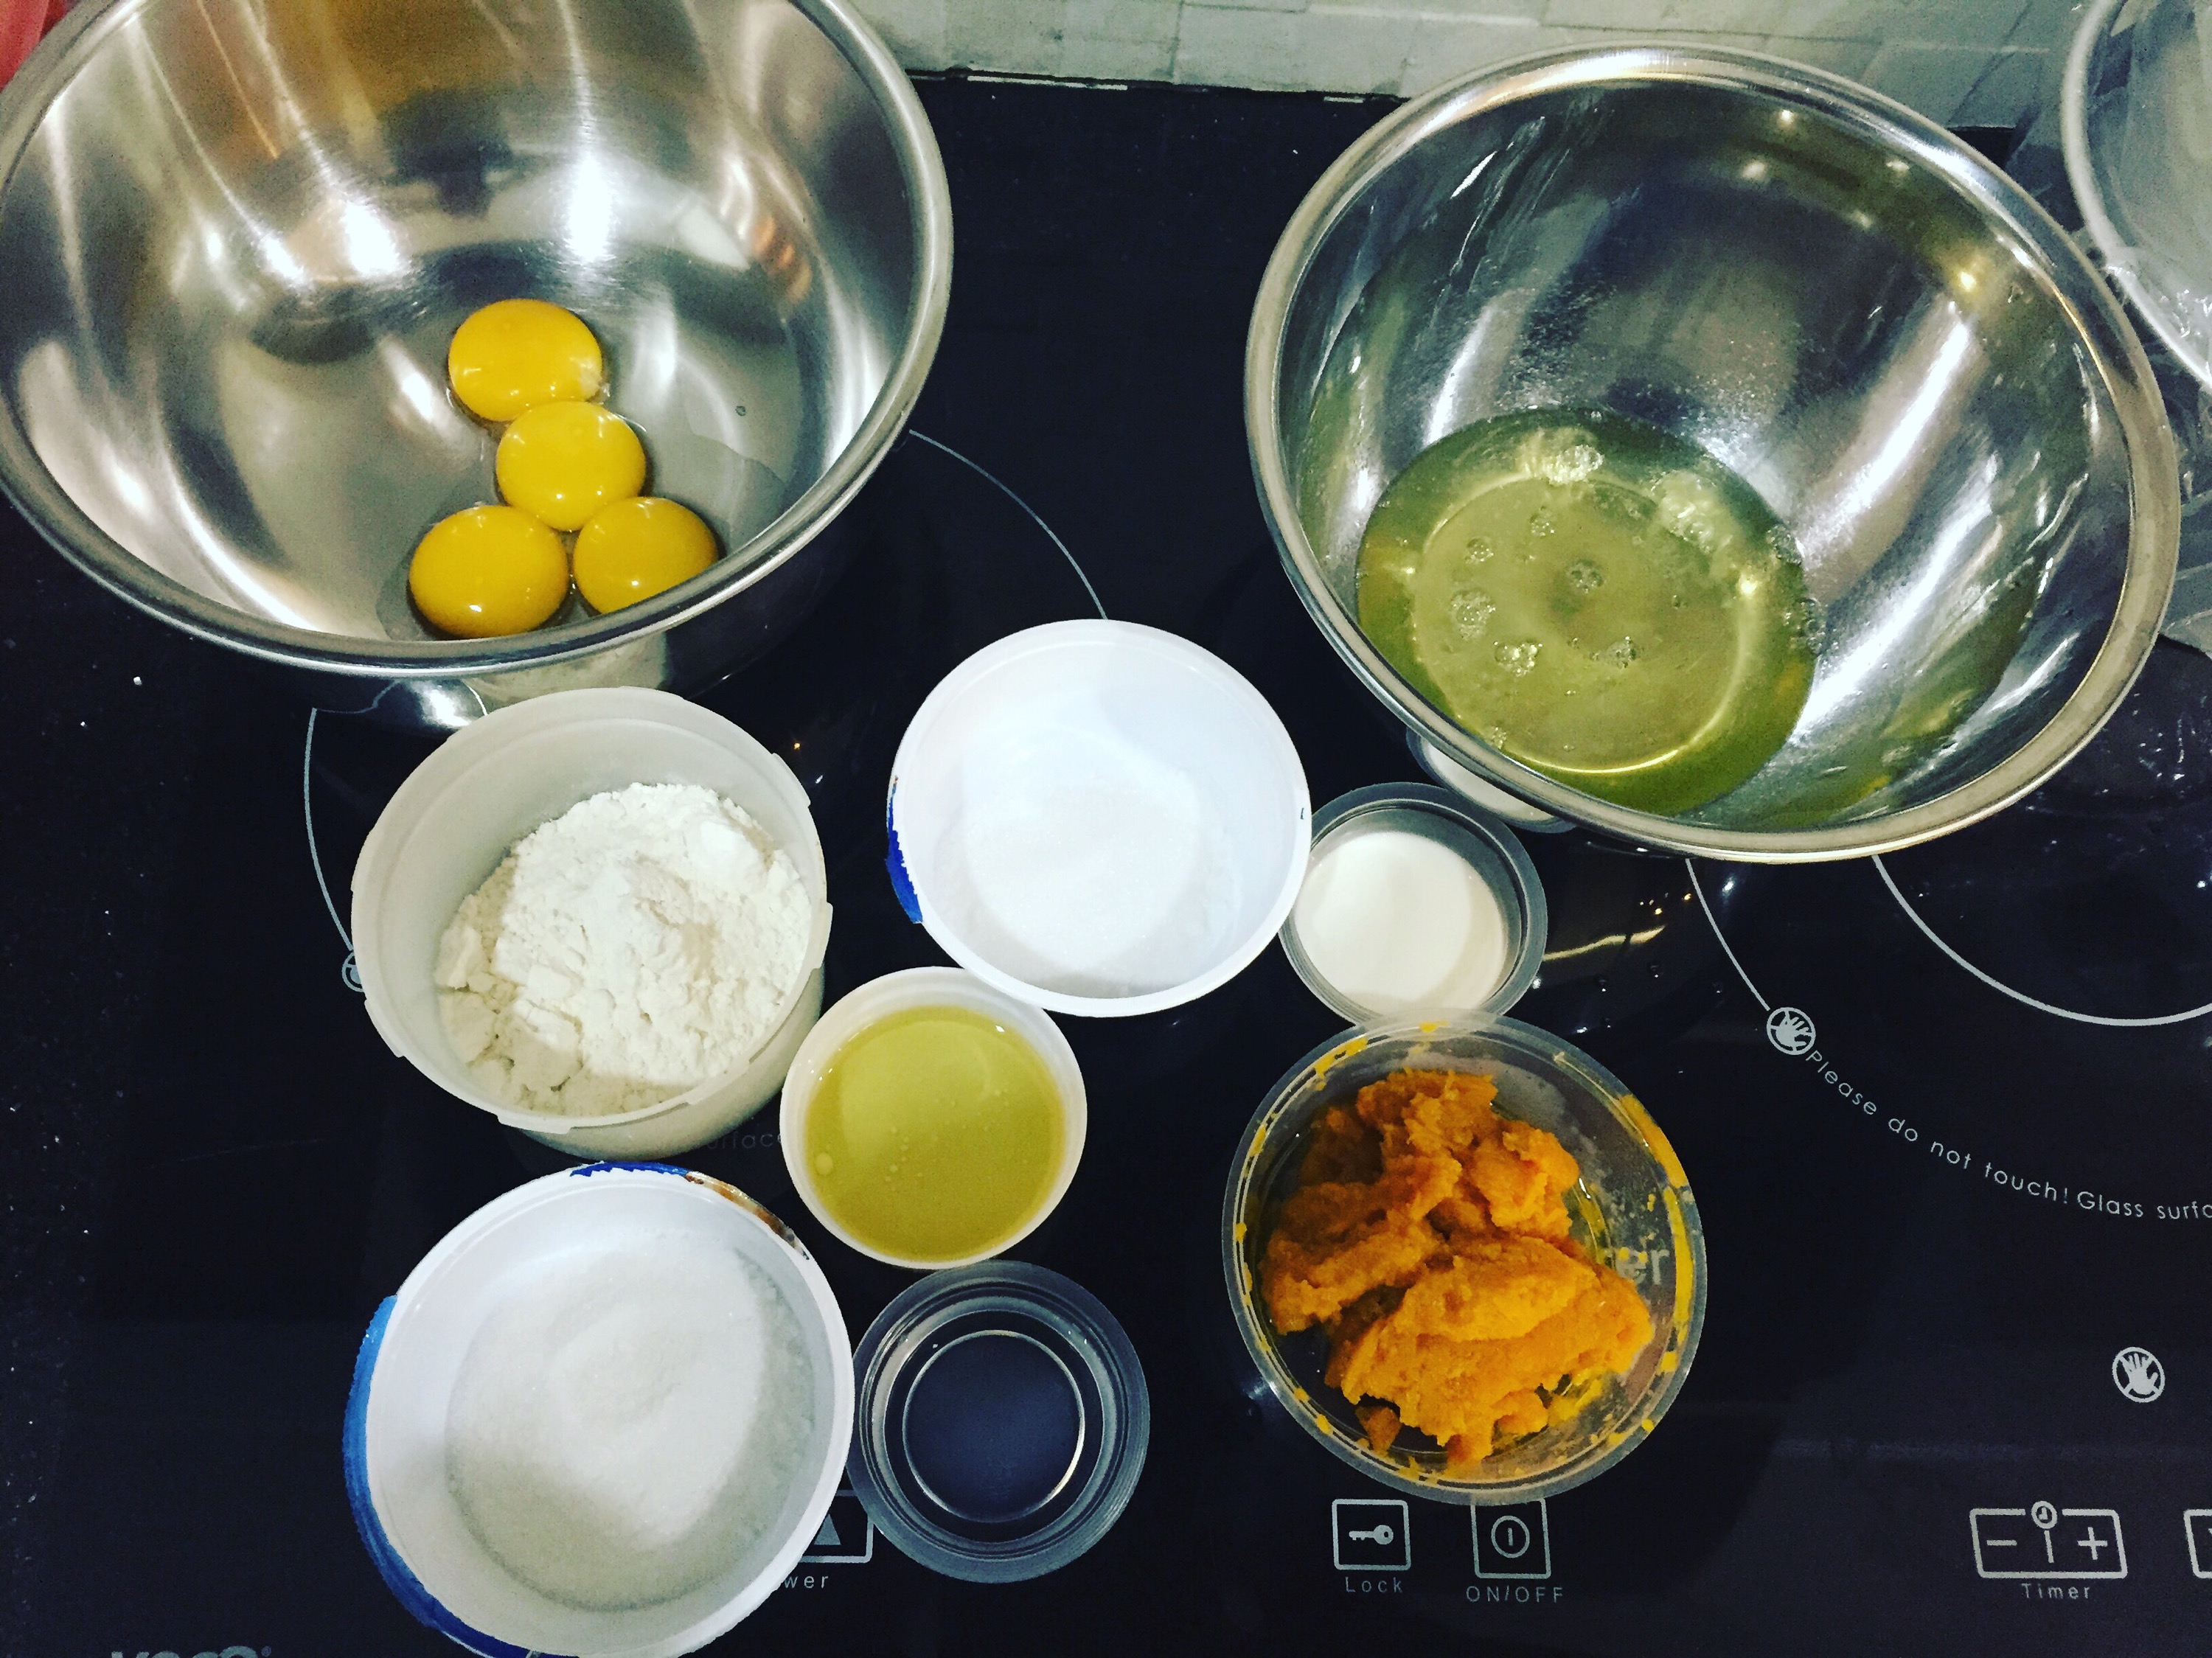


カテゴリー別アーカイブ: Chiffon Cake☆シフォンケーキ
榴莲蛋糕~香草戚风蛋糕体
为了下个月的做月子生活,这几天我都在整理我的冰箱。这才发现原来我收藏了好多烘焙的材料在里面。😁
妈妈之前也一起催促我,快快把那些烘焙材料“处理“掉。:|但是,也不是哪么简单的事罗。:(因为有些材料可是之前在日本买回来的呢,哪可能哪么快刻意把它用掉哦。这里没得卖耶!!!😣
话说如此,还是得处理掉一些材料,不然做月子的时候,冰箱可能会发生世界大战哦。😂😂😂
刚好从妈妈家带回了几盒榴莲,便想说烤个榴莲蛋糕。🍰;)我这次用了香草戚风蛋糕做蛋糕体。因为本身对海绵蛋糕的口感不太喜欢,所以才会想用戚风蛋糕。戚风蛋糕的口感又软又好吃,放在冰箱内也不会像海绵蛋糕哪样变硬。:)
蛋糕体的食谱来源:Michelle @烘焙天堂
蛋糕体的食谱原名:英式柠檬蛋糕
材料:
蛋糕体:
蛋黄 3粒
自发面粉 60g
玉米油 30g
牛奶 40g
Vanilla香精 1/2 tsp
蛋白 3粒
幼糖 50g
塔塔粉1/4 tsp (我没放)
做法: 一般戚风做法,150度45分钟或至熟~6寸模。
注:我的烤箱用150度烤35分钟。

装饰:
鲜奶油 300g
细砂糖 2tbsp
榴莲泥 80g
榴莲果肉 适量
做法:
1)把鲜奶油加细砂糖稍微打发,然后加入榴莲泥继续打发至硬性发泡即可。
2)把蛋糕体切成5片,抹上一层榴莲鲜奶油和榴莲果肉,重复至完成。
3)把剩余的鲜奶油把蛋糕体周围抹上,随意装饰即可。

Red Velvet 戚风蛋糕
学校假期开始了。😁对于妈妈级与准妈妈级的我来说,学校假期可是一件非常快乐的事。😌因为不需要早起赶出门送宝宝上学。😜
因为宝宝放假有时间,所以最近老是爱烤戚风蛋糕。😌已经尝试过多种口味,所以便想来点不一样的。😌
Red Velvet 好像是近年才爆红的名称吧?!😒之前,有学Red Velvet 杯子蛋糕,烤好的颜色真的很浪漫。特别适合在情人节送给情人。😘😍
既然可以有红色的杯子蛋糕,哪也可以有红色的戚风蛋糕!不同的浪漫。😌有时候,觉得杯子蛋糕只是好看不好吃。不是太油腻,就是有一堆的翻糖装饰。:twisted:所以,便想来点属于自己的风格的情人节甜品。😌😁

食谱原名:Red Velvet 戚风蛋糕
食谱来源:我的戚风配方
材料:
4粒蛋黄
15g细砂糖
45g玉米油
75g清水
60g特幼面粉
15g可可粉
1大匙Red Oil Base
4粒蛋白
60g细砂糖
做法:
*一般的戚风蛋糕做法。
*烤箱预热180度,烤35分钟即可。
*中空17cm烤模。
三色可可戚风蛋糕
终觉得之前的戚风蛋糕烤得不太理想,所以今天趁宝宝去了妈妈家住,便想再尝试烤个三色可可戚风蛋糕。
经过再次的努力,终于成功战胜了这个戚风蛋糕。颜色非常吸引,我超爱这个造型的。

上图: 好高好美。
食谱请按这–>三色可可戚风蛋糕
4寸大理石戚风蛋糕
真的好久,好久没烤戚风蛋糕了。拿起搅拌机,感觉技巧有点生疏了。😒
戚风蛋糕给我的感觉是,非常蓬松和柔软。不像海绵蛋糕哪样扎实。而且,戚风蛋糕的步骤也非常简单。基本上,都不会失败收场。😌
这次我选用了我自己的戚风配方,与其他食谱比较,我是完全没放任何塔塔粉或发粉等等。只需要蛋白和细砂糖便可以轻松做出非常漂亮的蛋白霜。:roll:
“世间无难事,只怕无心人“。一开始,我也是失败了好几次,不是回缩就是底部凹了一个大圈,但是只要从中学习哪里做错了,便会成功。;)
加油吧各位!😁

食谱原名:大理石戚风蛋糕
食谱来源:我的配方
材料:(17cm戚风中空烤模)
4粒 蛋黄
15g 细砂糖
45g 玉米油/蔬菜油(Canola Oil)
60g 清水
90g 特幼面粉/普通面粉
4粒 蛋白
60g 细砂糖
6g 可可粉
做法:
*一般戚风蛋糕的做法。
– 当所有材料搅拌均匀之后,把1/3的面糊倒入另一个大碗里,筛入可可粉搅拌均匀。
– 然后把原味面糊和可可面糊以交替的方式倒入烤模里,即可。
– 放进已经预热180度的烤箱,烤35分钟即可。(无需开风扇)
– 烤好的戚风蛋糕,立刻倒扣在任何高处,以避免它回缩。
– 待它完全放凉后,便可脱模。

上图:烤了20分钟。。。

上图:当。。。当。。。出炉啦。。。

上图:我是这样倒扣的。。。😁

上图:脱模后,好高,好美哦!!😚

上图:都到顶了。。。😁
昨天是Parent’s Day, 带去请宝宝的老师们吃。。。😌;):D
三色戚风蛋糕
好久没烤戚风蛋糕了。之前,几乎每天都在烤,从早到晚。😌终觉得戚风蛋糕吃起来,蓬松。。。蓬松。。。口感特别好。😌

于是,便烤了这个三色戚风蛋糕来过过瘾。😁烤出来的效果,真的好特别哦。颜色分明,真漂亮!😚
食谱原名:双可可戚风蛋糕~三色
食谱来源:爱~厨房的幸福之味
材料:
黑可可面糊:
蛋黄 – 2个(Omega蛋)
玉米油 – 20g
清水 – 30g
低筋面粉 – 30g
黑可可粉 – 5g
可可面糊:
蛋黄 – 2个(Omega蛋)
玉米油 – 20g
清水 – 30g
低筋面粉 – 30g
可可粉 – 5g
原味面糊:
蛋黄 – 2个(Omega蛋)
玉米油 – 20g
清水 – 30g
低筋面粉 – 35g
蛋白 – 6个(Omega蛋)
白砂糖 – 90g
– 低筋面粉与黑可可粉或可可粉混合均匀,一起过筛。
模具:
21cm戚风中空模,较宽较矮型
温度:
以170度,烤35分钟
(时间与温度方面可依自家的烤箱而做调整)
做法:
1) 把玉米油加进蛋黄里,用打蛋器搅拌均匀,再加入清水搅拌均匀。
2) 直接筛入低筋面粉,用打蛋器由底往上翻拌均匀,面糊切记翻拌过度,以免面糊起筋,影响口感。
3)加入1/3打发的蛋白,用打蛋器由底往上翻拌均匀,再用刮刀把边边底部刮干净拌均匀,才倒入剩下的2/3蛋白里,同样的也是用打蛋器由底往上翻拌均匀,才用刮刀把边边底部刮干净拌均匀,即成戚风蛋糕糊,倒入模具即可烘烤。
4)烘烤完毕一出炉,马上倒扣,避免蛋糕塌陷,待凉后即可脱模享用。
注:我的烤模是17cm,所以分量我都另外计算过。烘焙时间,我依然跟以上一样。效果也没差。:)
APRICOT CHIFFON CAKE2
It’s raining the whole day and feeling so annoying with all the things happened around me. Baking is the only thing that will make me happy. So, I decided to bake apricot chiffon cake again. It turns out better than previous. Anyway, still a good day ahead.


Pistachio Chiffon Cake2
After i baked the chocolate marble chiffon cake, my sister just came to me and say, “Hey sis, i want the pistachio chiffon cake!”
I was like, “what? Now i am like a chef, being ordered cake by others. Maybe i should open up a shop that just sell chiffon cake. What do you think?” Haha…
But, seriously, i am really wanted to sell chiffon cake as to earn some side income LOL…
Maybe i should asked around and get more opinion before moving on…

Chocolate Marble Chiffon Cake
hahahaaha…i think i m getting crazy sooner or later…
Been baking chiffon straight for these few days…seriously, i am kinda fed up of baking and resting.
But, for certain reason, i still need to continue baking and baking and baking…*Gosh*
Anyway, this time i am combining two flavor into one, chocolate and vanilla.
When it was done, it looks super duper nice with the pattern and colors….The taste was quite nice too, just need to add more of the chocolate. haha…We all love chocolate, don’t we???
Anyway, remember to add the chocolate portion according to your needs.
Ingredients:
Egg yolks 4pcs
Granulated sugar A 15g
Vegetable oil 45ml
Water 60ml
Plain flour 90g
Egg whites 4pcs
Granulated sugar B 60g
Chocolate powder 6g
Vanilla essence few drops
Directions:
1. In a large mixing bowl, whisk egg yolks and granulated sugar A well.
2. Combine vegetables oil, water, vanilla essence and whisk well.
3. Sift in plain flour and whisk well.
4. Make meringue: In a mixing bowl, put cold egg whites. Use hand mixer low-speed and whisk until lightly fluffy. Change to high-speed and add in the rest of the sugar in about 3 times. Make a stiff meringue.
4. Make meringue: In a mixing bowl, put cold egg whites. Use hand mixer low-speed and whisk until lightly fluffy. Change to high-speed and add in sugar in about 3 times. Make a stiff meringue.
5. Take one scoop of meringue and combine it with egg yolk bowl. Gently whisk. Change to spatula and combine the rest of the meringue. Gently mix.Pour 1/3 of the batter into another bowl and mix with chocolate powder.
6. Cross pouring the both batter into a 17cm chiffon cake mold, use the stick/ chopstick to stir few round of it and bake for 35-40 minutes in a 180 degree C preheated oven.
7. Take out from the oven and cool it on a tray upside down. Leave it for few hours in a room temperature.
8. Once the cake is completely cooled down, remove from the mold. Serve.


Peanut Butter Chiffon Cake
Just reached mom’s house with my baby. It’s been long time we didn’t stay over night.
While baby was playing with brother and sister, i decided to bake again.
Haha…yes, it’s baking time for me everywhere when someone is looking after my baby for me.
This time, i am a bit out of the traditional style. I used the “kampong eggs” to bake.
“Kampong Egg” is quite tiny and small eggs as compared to the normal egg i used to bake.
It was really creative ideas…haha…the cake turns out super duper short and dense.
I was surprised, it is still eatable … just not as fluffy as usual cake.
Anyway, if you like a dense chiffon, this may also a good choices too.
Yield: 17cm chiffon cake pan
Time: 1.5 hours
Level: ★★
Ingredients:
Kampong Egg yolks 4
Kampong Egg whites 4
Granulated sugar 70g
Vegetable oil 50cc
Water/milk 30cc
Plain flour 60g
Peanut butter cream 2 TBSP
Directions:
1. In a large mixing bowl, whisk the egg yolks well.
2. Combine vegetables oil, milk/water, peanut butter cream and whisk well.
3. Sift in plain flour and whisk well.
4. Make meringue: In a mixing bowl, put cold egg whites. Use hand mixer low-speed and whisk until lightly fluffy. Change to high-speed and add in sugar in about 3 times. Make a stiff meringue.
5. Take one scoop of meringue and combine it with egg yolk bowl. Gently whisk. Change to spatula and combine the rest of the meringue. Gently mix.
6. Pour into a 17cm chiffon cake mold and bake for 35-40 minutes in a 180 degree C preheated oven.
7. Take out from the oven and cool it on a tray upside down. Leave it for few hours in a room temperature.
8. Once the cake is completely cooled down, remove from the mold. Serve.

